Lachlan idea generator
An analog portfolio turned idea generator with three wheels to spin, for tone, subject, & medium. I’ve seemingly made half the combinations as art projects & the other half sound plausible coming from me. It makes fun of how systematic, practical, & non-personally-attached my art is by reducing my projects to these core keywords, & re-systemizing them into this lime green contraption. I designed, 3D-printed, spray-painted, & assembled this custom device.
Concept
Over the course of my artistic career at IMA, I’ve made a lot of practical, data-based tools and projects. There’s also a core set of themes—& tones, & mediums— that recur in my work—everything is a remix. One realization I brought to this semester is that I’ve almost never made art about myself, even if a lot of my personality works its way into my projects. I wanted to make a more personal project about myself, but one that fits into this framework of practical tools. I wanted to make fun of my own approach through a new project.
Materials
- 3D printed PLA enclosure
- 3D printed PLA wheels
- 3/8” wood dowel
- Glossy photo paper, laser printed on
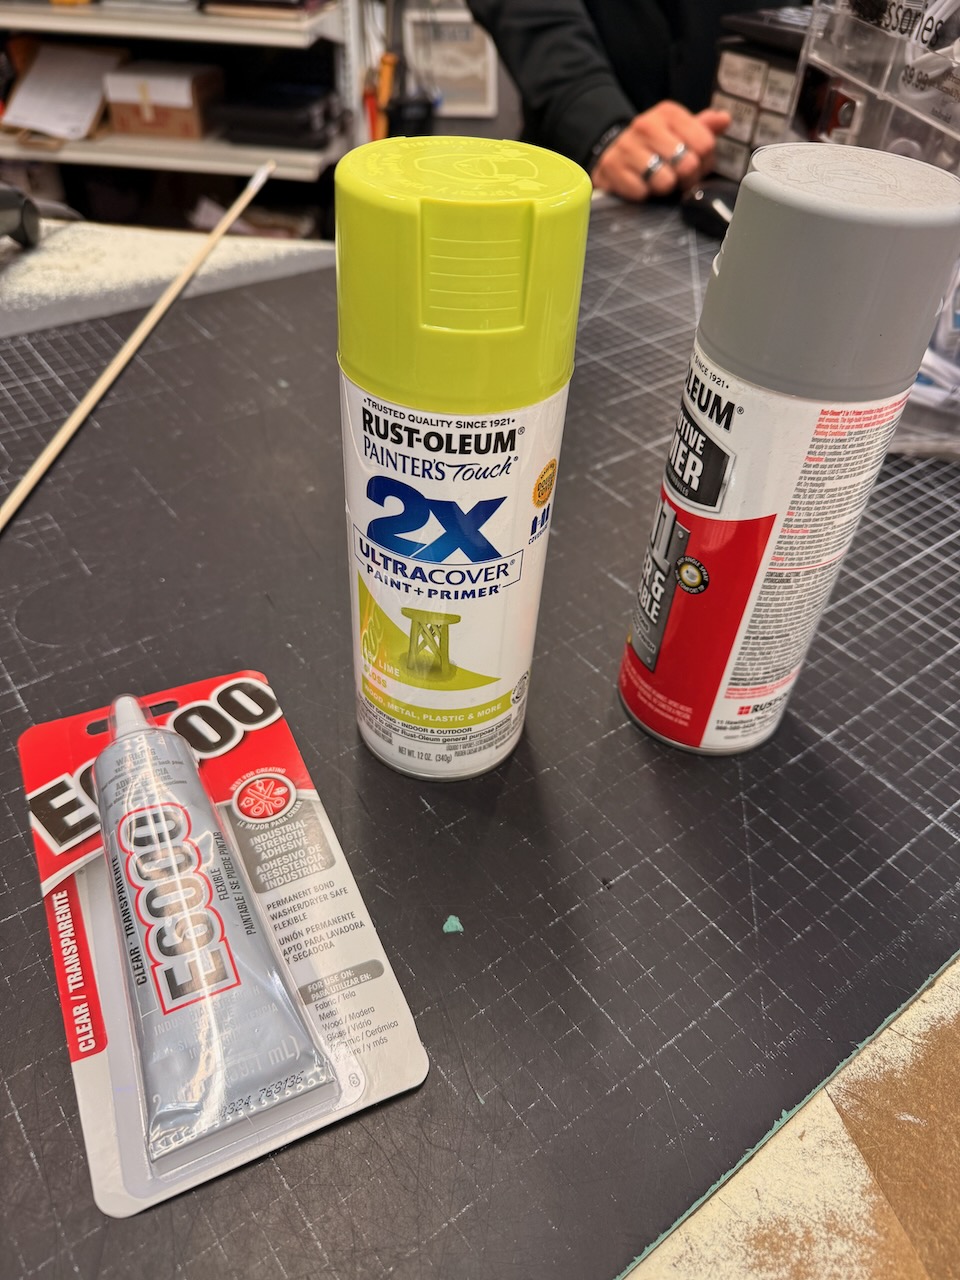
- Rustoleum 2-in-1 filler primer, grey
- Rustoleum spray paint, lime
Design
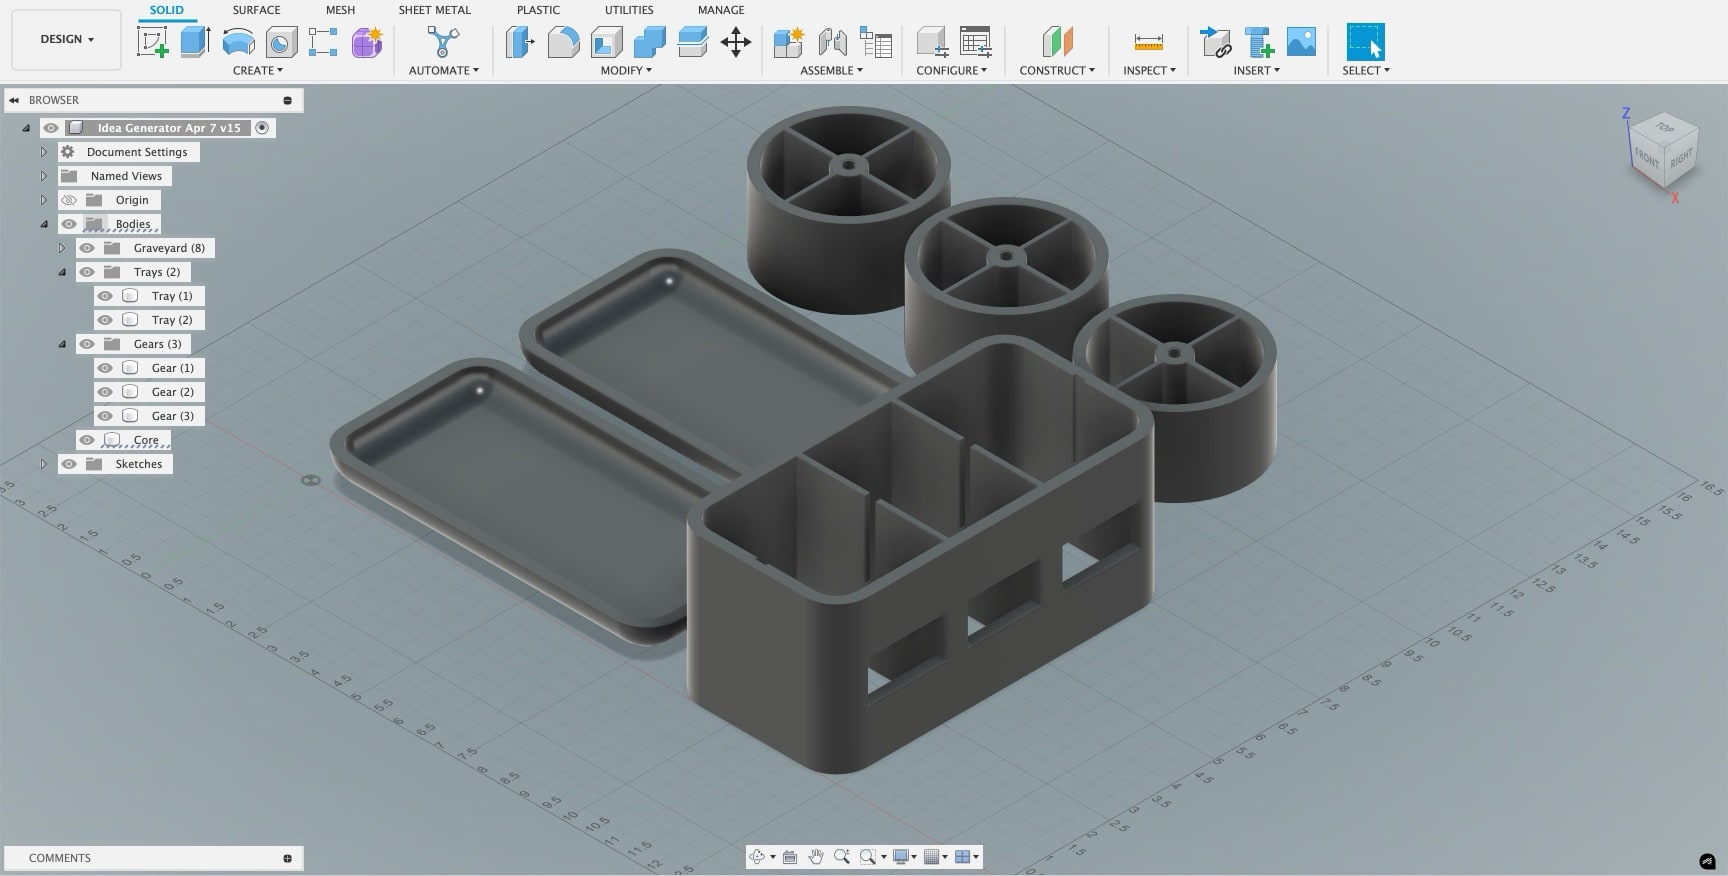
My early sketches for this project involved a handle or crank on the side of the box, which would have been a lovely interaction, but I realized building the gears required to make the wheels of the same size spin at different speeds was too intense. Instead, I opted for small rectangular windows you can manually spin the wheel through.
Nonetheless, this was by far the most complicated design I have 3D modeled. Jiaqi and Nasif both helped me substantially with figuring out Fusion, especially resizing and moving all my pieces to ensure the scaling worked between them, since I needed a precise fit on the wheels inside the box, enough space around the wheels, a fixed measurement for the dowel core, etc. (In Safari settings, turn on the <model> tag feature flag to see the 3D model here.)
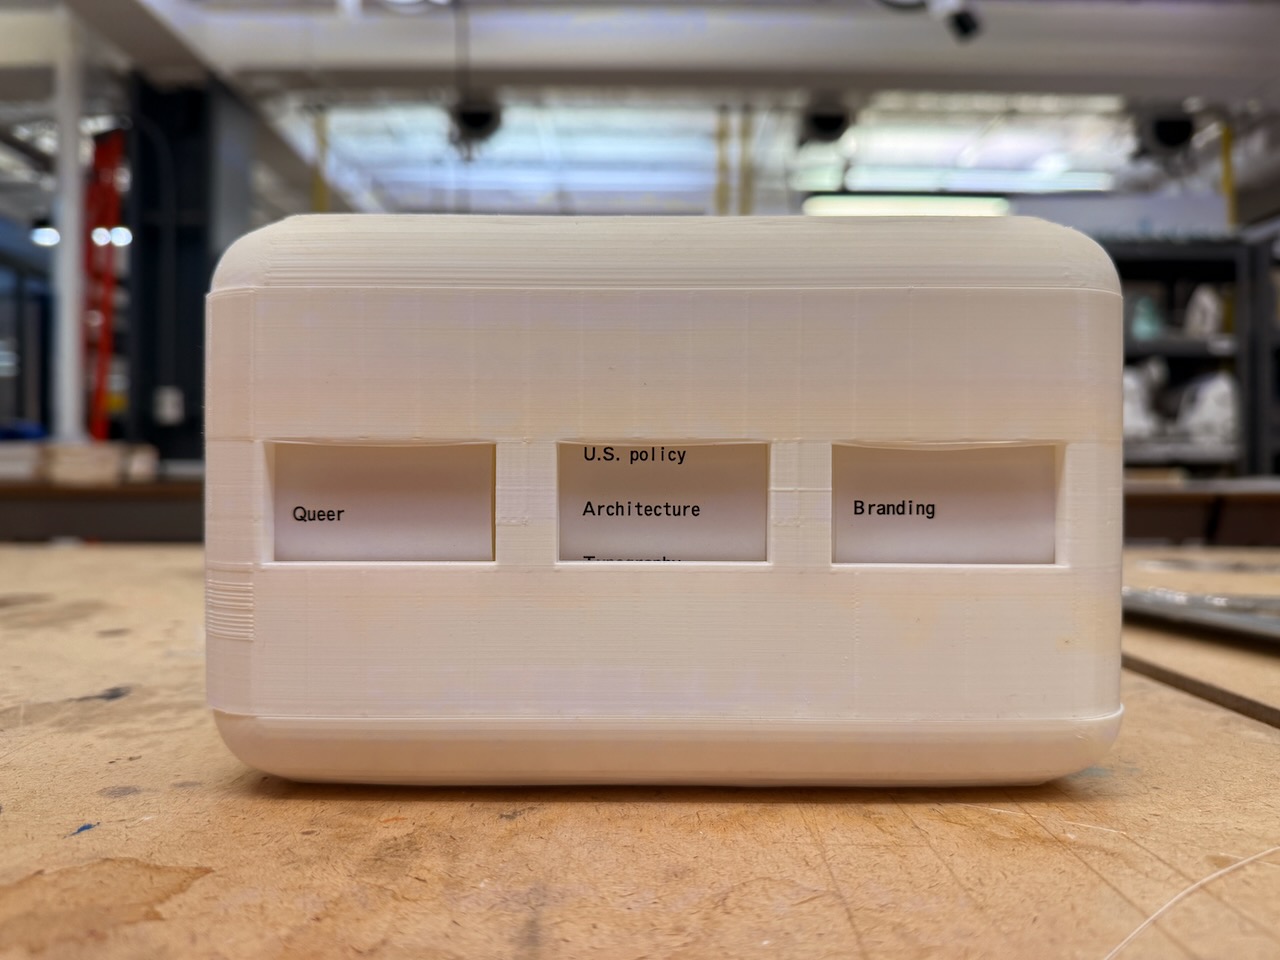
For the word lists, I designed a PDF in Figma. I calculated the pixel width of the 1.875” windows, and created a layout grid. I used ABC Oracle Triple, the same font as my website, to unify the aesthetic with my real portfolio. In a happy accident, I scaled the wheels to have an 11” circumference, which made the vertical sizing easy.

Fabrication
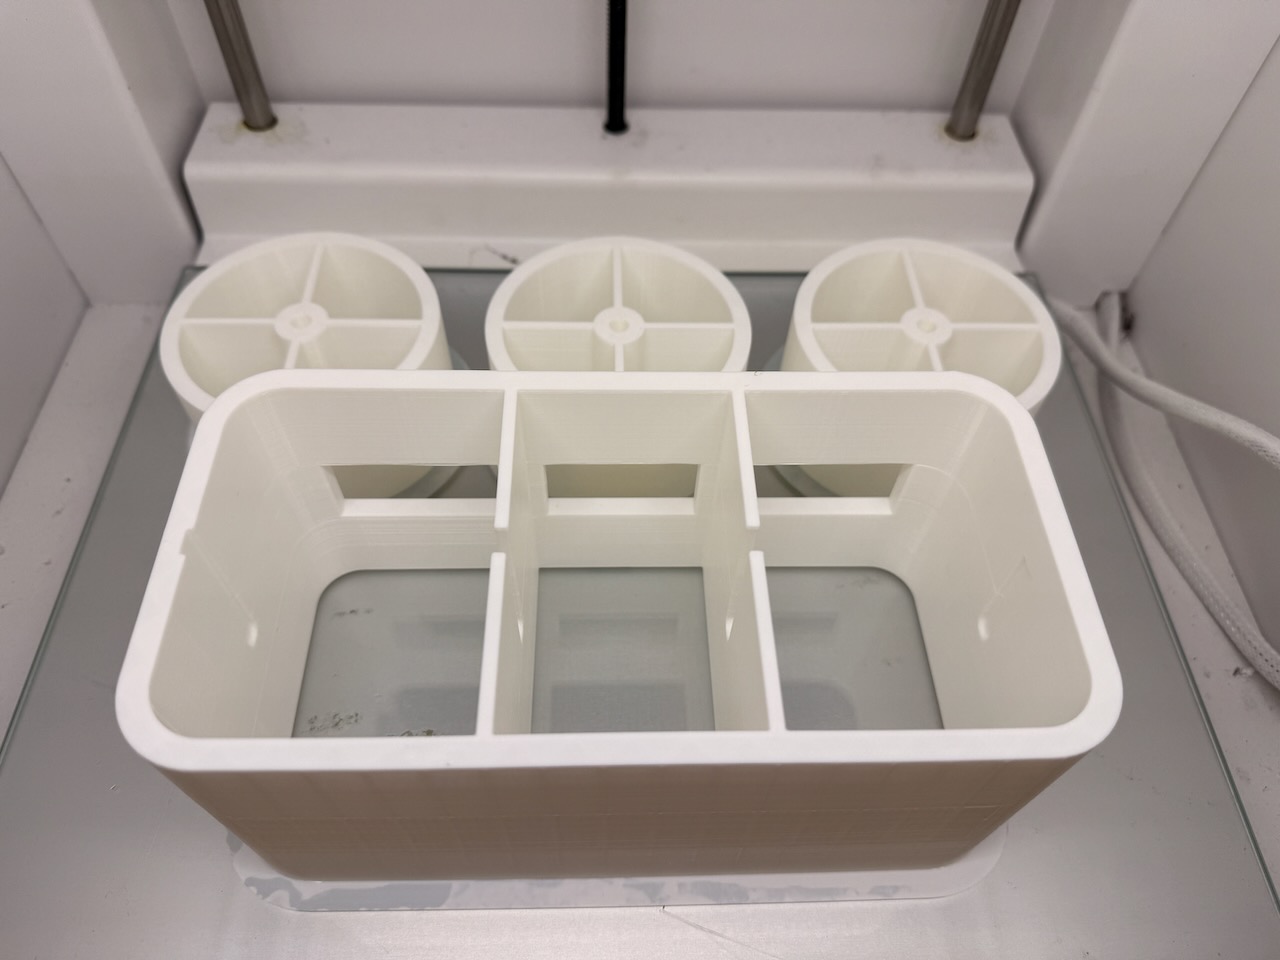
3D printing all these pieces in a rush was a challenge due to their scale. I sectioned off the top/bottom lid as its own file, which I printed twice on the small Ultimaker S3 at IMA. Each took 7 hours.
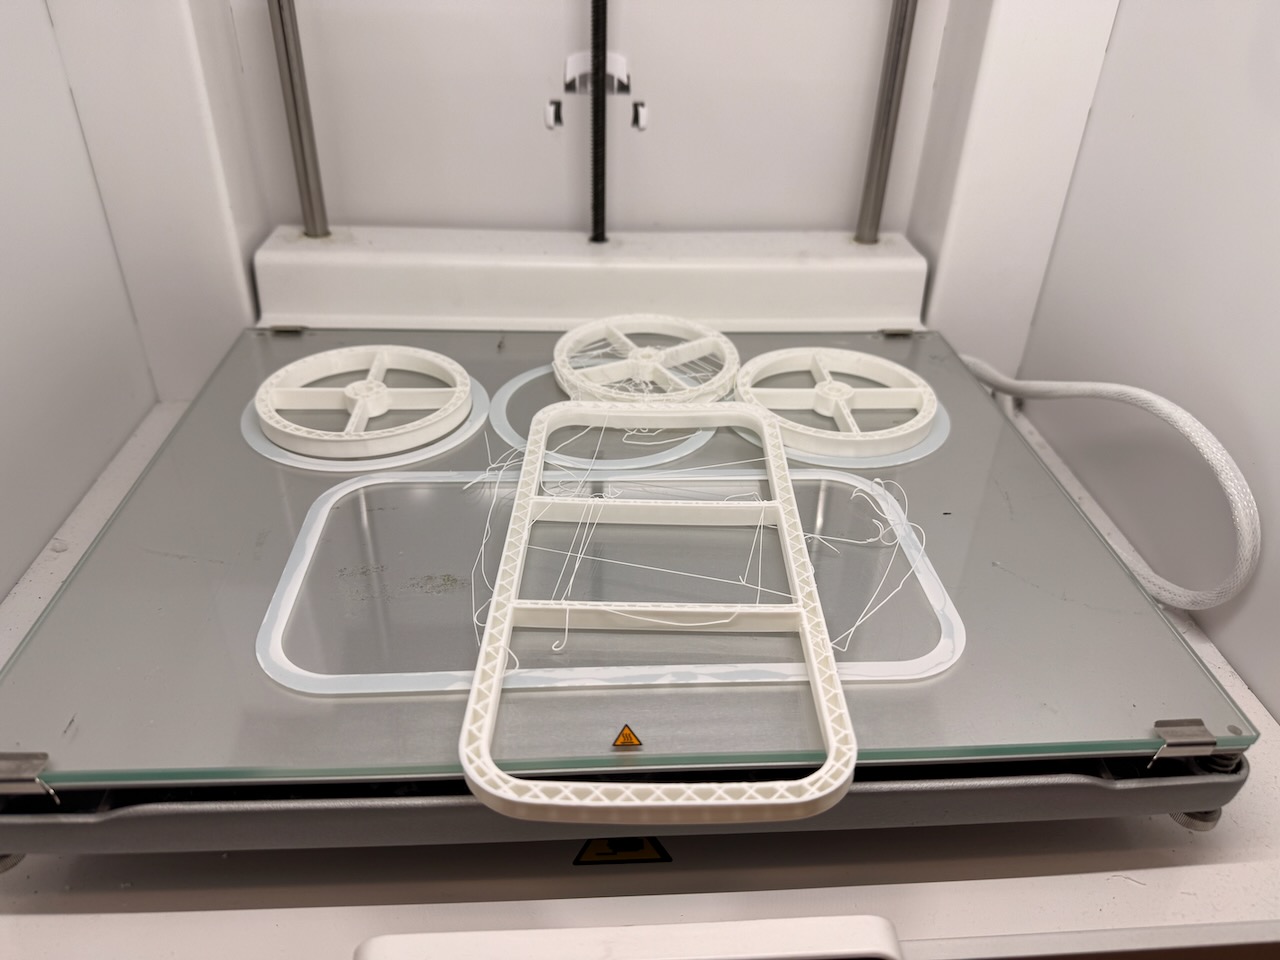
I made another file for the scale of the Ultimaker S5 with the three wheels, plus the main sides of the box, as one print. I used Ultimaker Cura to prepare the file for the printer, since it doesn’t use our online system. However, about 3 hours into the 23-hour print, I checked in only to witness the adhesion material come un-adhered, and the printer began knocking the pieces around while drizzling plastic everywhere.
One of the ITP students advised that you have to manually lower the build plate temperature in the Cura settings, from 80º to 60ºC. I redid that part in Cura, exported the gcode again, restarted the print, and came back a day later. Luckily, this time it worked.
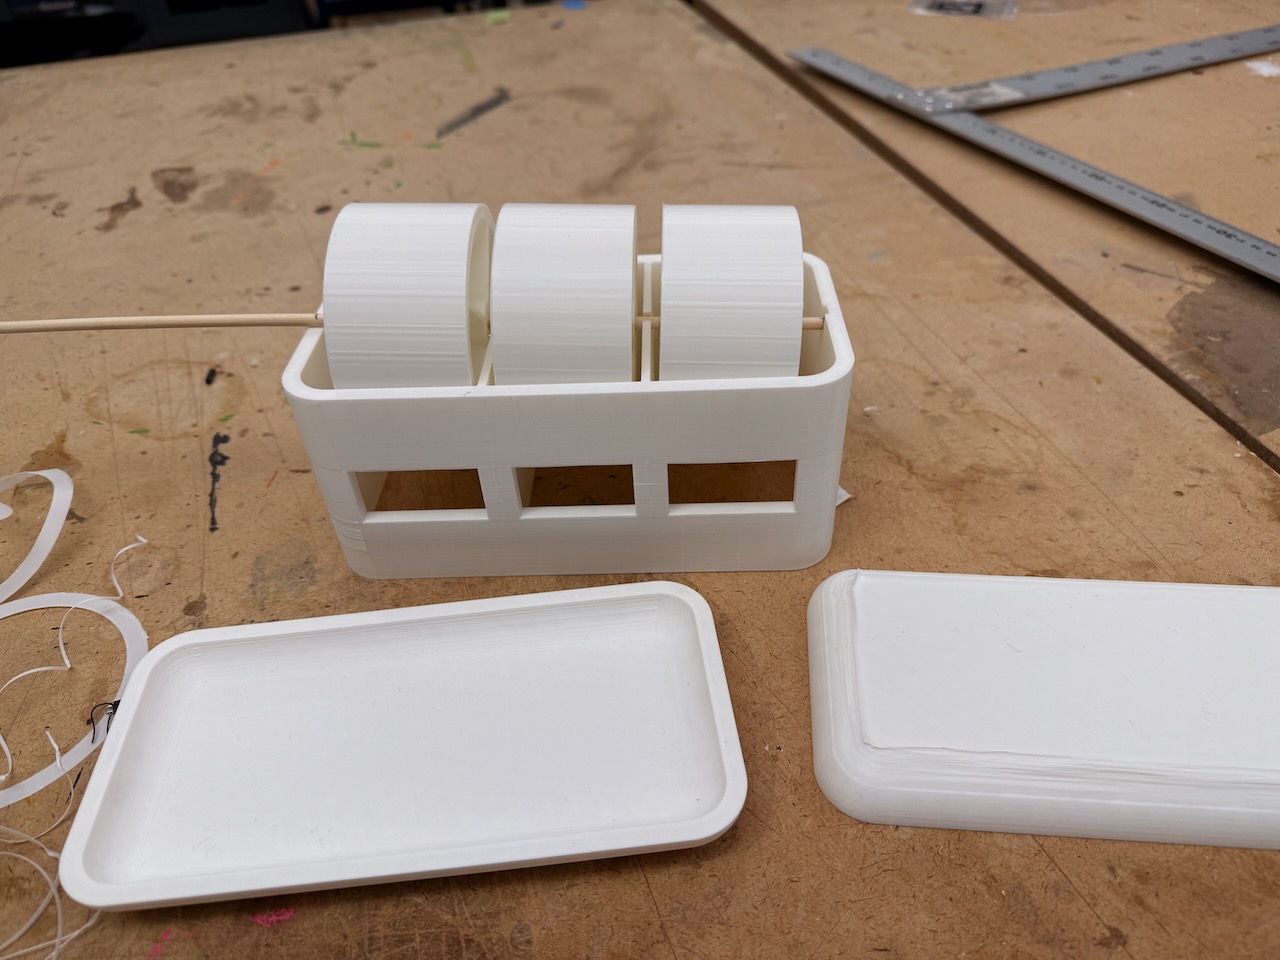
I printed a test sheet of the Figma design for the word lists onto standard printer paper. Somehow I find myself using the paper cutter in the Design Lab constantly, and this project called for it again. Using the subtle guidemarks I added to the Figma design, I cut the 3 strips of paper, then used double-sided tape to attach them to the plastic wheels.
Post-processing
The process I followed:
- Sand
- Rinse off dust
- First layer of primer in spray booth
- Let it dry
- Sand aggressively
- Prime again
- Paint
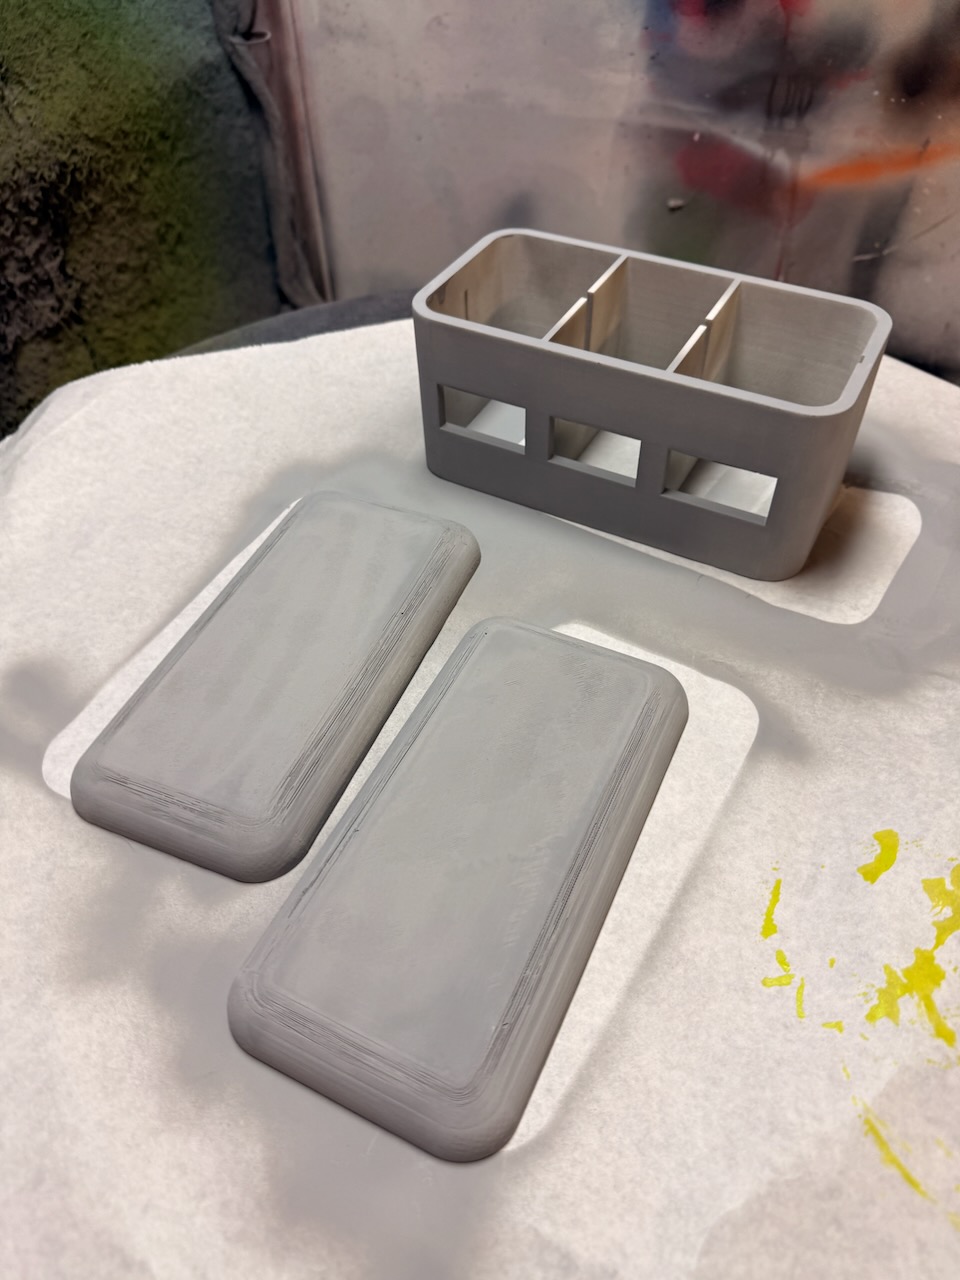
I had no idea sanding would take so much physical energy and time for such mediocre results. Due to the extremely visible filament striations on the sides of the lids, the more sanding I did (at both 80 and 220 grits), the more filaments came fully out, further roughing up the texture. I sanded what felt like forever but in hindsight was insufficient.
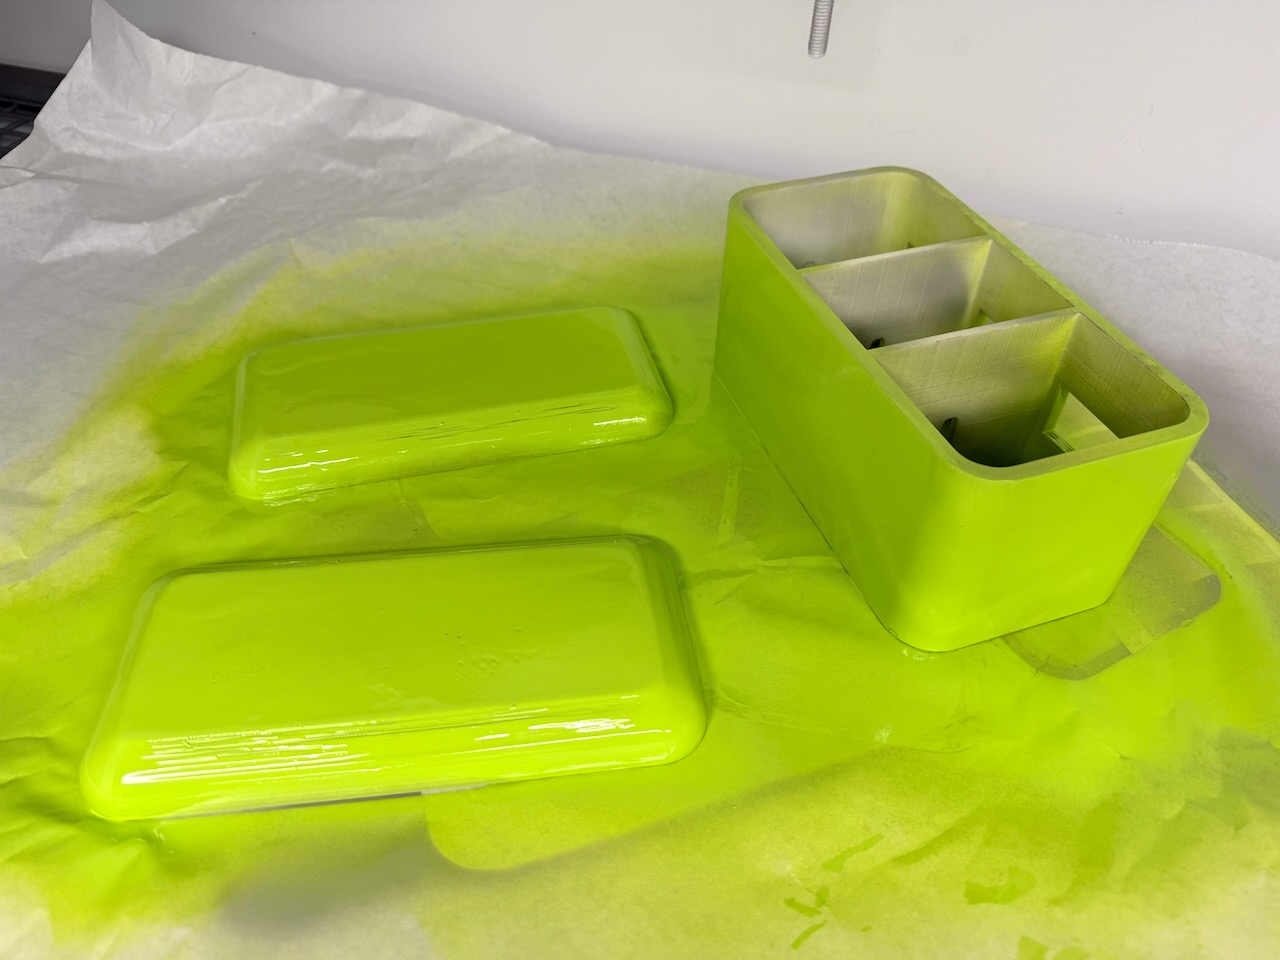
Painting went smoothly, but I had to return to certain areas to ensure a thick enough coat, which resulted in an uneven finish. The main remaining task is to sand & repaint the shell to even out the coat of paint, since this was my first time spray painting. I’d like the finish to be super glossy, like an AirPods case, but while Apple makes it look natural, spray paint is not the easy way to get there.
I was intending to glue the body pieces together with E6000 glue, which I bought, but the spray paint is naturally sticky enough, and I’d rather be able to open up the project in the future to install new idea sheets.
Reflection
I’m delighted with this final result. I learned lots in the designing, printing, and post-processing stages, but mostly I enjoy the concept and what the device says about me artistically. The green is fantastic.
It’s hilarious to see so many of my previous projects represented by spinning the wheels:
- Sadistic drought Arduino project
- Dataviz drought website
- Artsy New York City WebXR experience
- Hacktivist map essay
- Environmentalist fossil fuels wearable
- GenAI search website
Sometime I’d love to make a variant of my personal portfolio that uses a 3D model of this device to serve up projects when you hit on a combination I’ve made.